Are My Seeds Too Old? How to Check Viability with a Seed Germination Test
Or How to Sneak a Peek of Seeds Starting to Grow!
If you’ve ever wondered, “Are these old seeds still any good to plant?” this tutorial will help you find out. It’s also a fun way to see what happens when seeds sprout, a process that is usually hidden from view under the soil. Our kids love this sneak peek!
Here’s a short video about the process or read on for the written tutorial.
Perhaps you have a box of seeds from years’ past on a shelf…or a bag in the freezer.
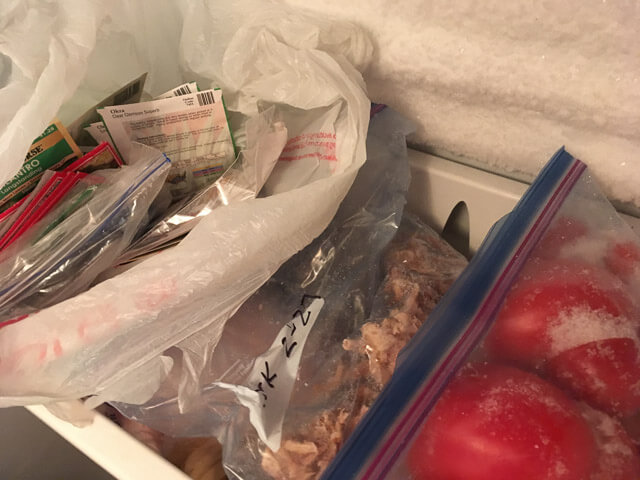
My uncle generously gave me this big bag of seeds he’d bought during the end of season sales. Since they’re a few years old, I’m curious to see how well they’ll germinate.
Or maybe you have some envelopes of seeds you harvested yourself and forgot to date. (Yep, I have some of those, too!)
What’s a gardener to do?
- Option 1 – Plant them as usual and be okay with some empty spaces if some of the seeds don’t sprout.
- Option 2 – Plant them denser than recommended and be okay with thinning if the seeds germinate well.
- Option 3 – Do a seed germination test to see what percentage are still viable!
Sometimes, I use Option 1 and plant as usual. If I only have a few seeds for a certain variety, I’d go this route. But I don’t like wasting space, seed starting supplies, and water for seeds that may not grow.
Sometimes, I hedge my bets by planting thickly as in Option 2, but honestly, I try to avoid thinning (except for greens!) because it’s a task I don’t always get done.
For old seeds, Option 3 lets me know what to expect. Plus, the boys and I enjoy getting a glimpse into the secret world of germination! I’ll show you the process we use below.
How long do seeds usually last?
When stored in a cool, dry, and dark place, seeds for many garden vegetables will be viable for around 3 years.
Some, like onions and parsnips, are viable for only a year or two. Others, like squashes and tomatoes, last longer, for 5+ years. Here’s a handy chart showing estimates of seed viability from a few different sources.
Amazingly, the longest-lasting seeds we know of are thousands of years old!
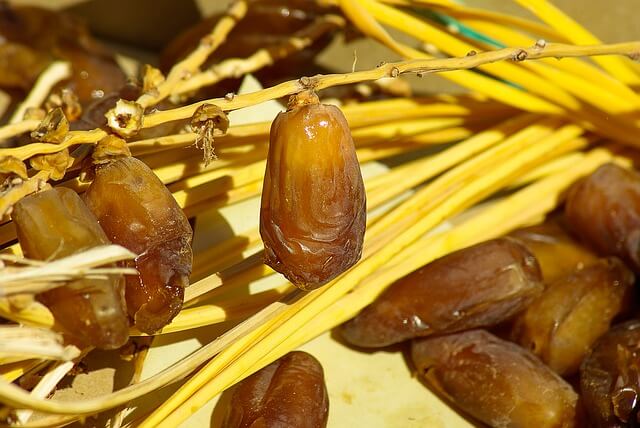
Dates! Scientists discovered ancient seeds of a date palm and got one to grow! It is a male and now produces pollen to fertilize female palms that produce fruits similar to these.
These exceptional seeds have been germinated by scientists in carefully controlled settings. They include a 2,000-year-old Judean date seed that has now grown large enough to father fruit, a 1,300-year-old sacred lotus that didn’t survive long but did give us genetic insights, and lastly, a 32,000-year-old (!) flowering Silene stenophylla that scientists grew by cutting into an immature seed to access the embryo. That’s some careful and tiny work!
In our gardens, we don’t usually need to be so careful, which is a really good thing in my case. 🙂
A seed germination test can help you find out if your older seed packages will perform in your garden.
With kids, this can be a great project for scientific exploration, too. You can carefully check the seeds each day to look for changes and draw or write about what you find. You can test how variables like seed type, temperature, and light exposure affect germination.
Let’s dig in…
Step 1. Gather materials and tools.
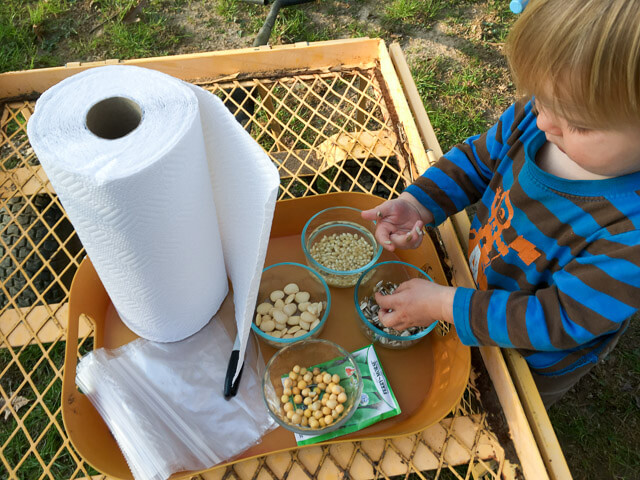
MATERIALS
- 10+ seeds to test (I like to test 10 for easy math, as you’ll see below!)
- Paper towels, coffee filters, or blotter paper
- Plastic bag or container with a loosely-fitting cover
- Water (Allow chlorinated water to “off-gas” overnight.)
TOOLS
- Permanent marker
- Tray or box to hold bags
Step 2. Pre-soak larger seeds.
Peas and beans on left are dry and on right have been soaked for ~8 hours.
This is an optional step for large seeds like corn and beans. You can soak these seeds for about 8 hours to speed up germination. As you can see from the photo above, these seeds soak up a lot of water before they begin to grow.
Be careful not to soak them too long. Over-soaked seeds will split or even begin to rot.
Step 3. Label your bags.
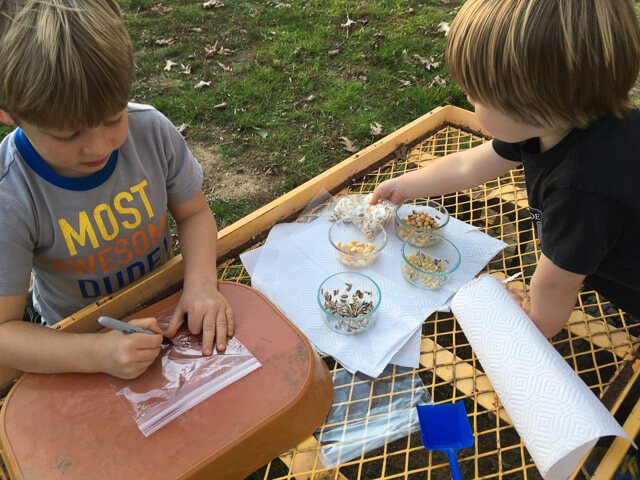
Label each bag with the name of the seeds you’re testing. If you’ll do multiple tests, add the date.
Step 4. Moisten the paper towels.
Wet your paper towel (or coffee filter or blotter paper) and then squeeze out as much water as you can.
Water AND air are both needed for seeds to germinate. If your paper towels are soggy, you’ll likely get moldy or slimy seeds, instead of sprouting ones!
(Spritzing with water from a spray bottle would work too!)
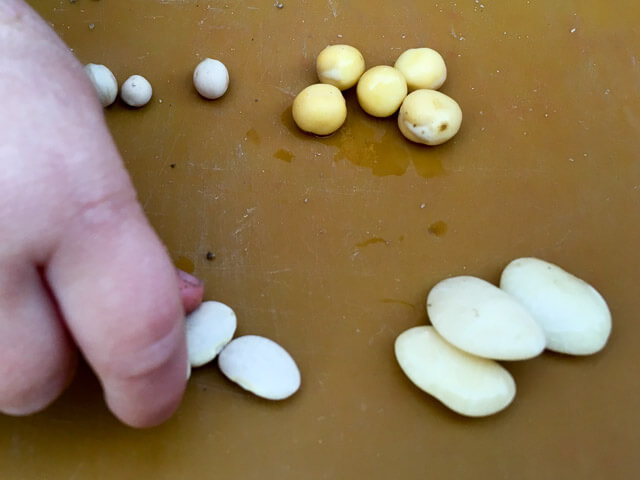
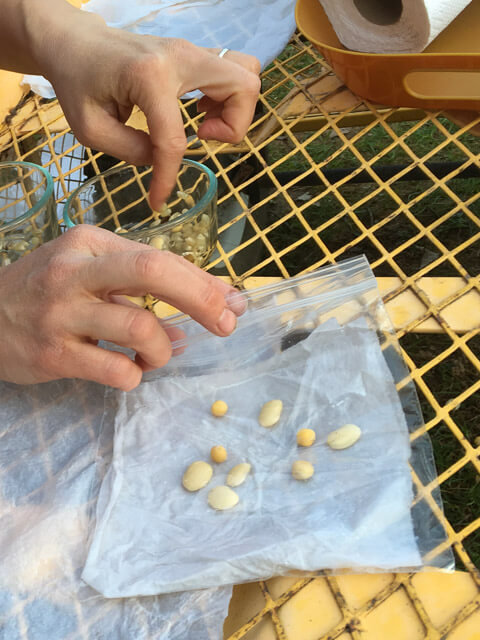
Step 5. Put 10(ish) seeds on a towel.
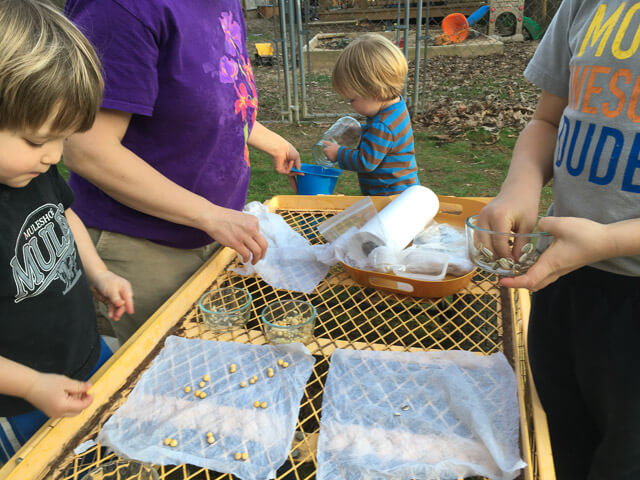
Test at least ten seeds. For more accurate results (or if you’re still learning how to count 10 🙂 ), test a larger sample of seeds.
Spread the seeds out evenly. (Older kids could use a ruler to space them more exactly.)
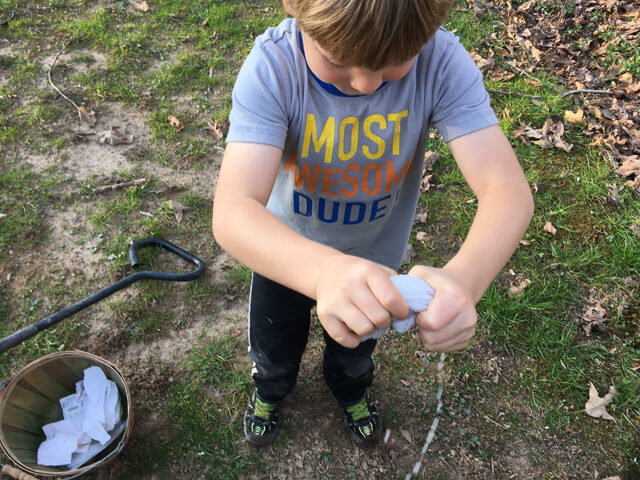
Step 6. Cover the seeds with a second sheet and roll up.
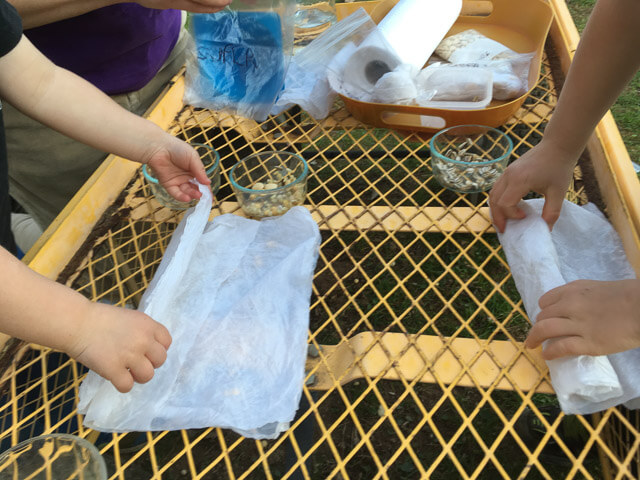
When we’re doing an experiment to watch the seeds germinate, I like to keep the seeds visible inside the bag.
An see-thru alternate to rolling up seeds inside paper towels. I’ll cover this with a cloth to keep it dark during germination.
Step 7. Put the rolls into a plastic bag or loosely-covered container.
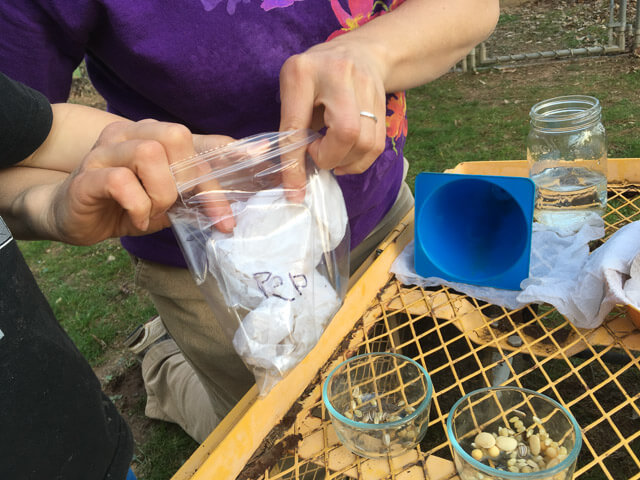
Don’t seal the bag or container. Remember, you want to retain moisture without cutting off airflow.
Step 8. Store the bags in a safe place and check them in 3 days.
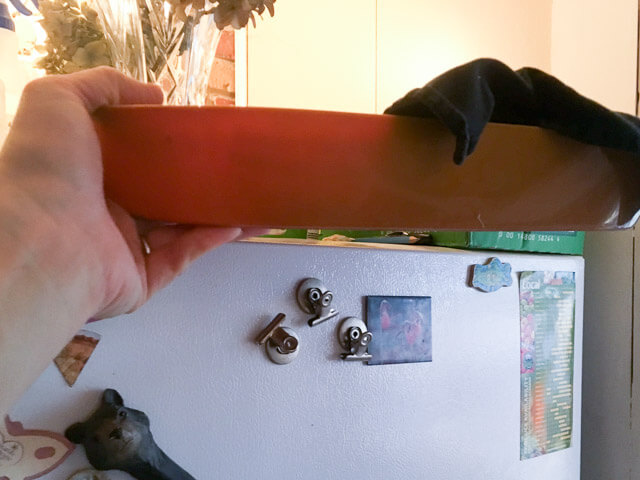
Seeds should be safe up on top of our fridge!
Many seeds will start to germinate in 3-5 days. (Mark your calendar!) When you see roots and cotyledons, or seed leaves, you’re ready for Step 9.
Most seeds will germinate fairly well at a typical room temperature around 68 or 70 degrees F. Summer crops, like tomatoes, peppers, and watermelons, will germinate more quickly at warmer temps. You’ll likely see faster germination if you put the seeds top of your fridge or a near a heat source (but not so near that they overheat or dry out!)
This PDF from NCSU Cooperative Extension Service includes a chart with ideal germination temperatures, times, and notes about if the seeds need light/dark to germinate.
Step 9. Examine and count your sprouting seeds.
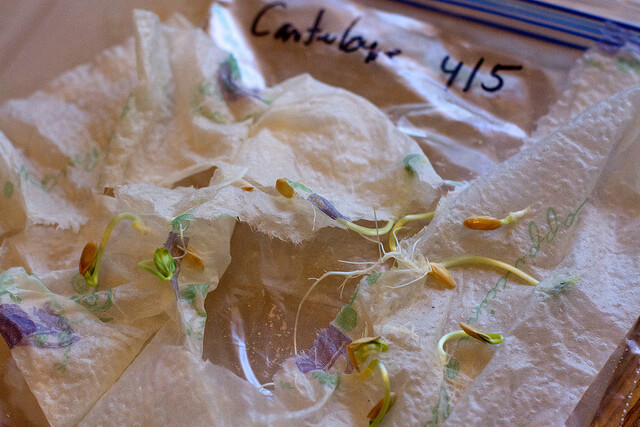
Here’s an example of cantaloupe seeds – 9 of 10! (Photo: Alan Levine, CC-BY)
As you look at your seeds, ask these questions…
How many seeds sprouted?
How many didn’t sprout?
(You can moisten and roll these seeds back up to give them a few more days to be sure!)
To calculate your germination rate:
Divide the number of seeds that sprouted by the total number of seeds. Multiply by 100 for germination percentage.
- 9 seeds germinated / 10 seeds tested x 100 = 90%
- 2 seeds germinated / 10 seeds tested x 100 = 20%
How do the seedlings look? Are there noticeable deformities in some seedlings?
(Sometimes seeds are viable—they sprout—but not vigorous. Vigor matters in your garden, too. If your seedlings look deformed, your seeds may have lost enough vigor that it’s worth purchasing fresh ones. Read more on vigor here.)
Step 10. Compost your sprouts.
When you’re done with your seed germination test, the sprouts can go into your compost pile, paper towels and all.
Depending on what seeds your testing and how careful you (and your helpers) are, you might be able to plant them into prepared, loose soil.
But most plants will take time to recover from the disturbance/transplant shock. You can probably plant other non-sprouted seeds directly in the soil (knowing now what percentage will likely germinate!) and get healthy seedlings in the same time frame.
Storing Seeds in the Future
The next time you save your own seeds or have leftovers to store, remember to keep them cool and dry. In this article, Seed Savers Exchange offers more ideas for seed storage.
I’d love to hear about your experience…
Have you done your own seed germination test? How do you increase your success with seeds? I’d love o hear about it in the comments below!