How to Make Simple Plant Markers
Add a little pizzazz to your garden with homemade plant markers you and your kids can create in just a few hours.

I love art in the garden. For me, art in our garden is almost as important as the plants.
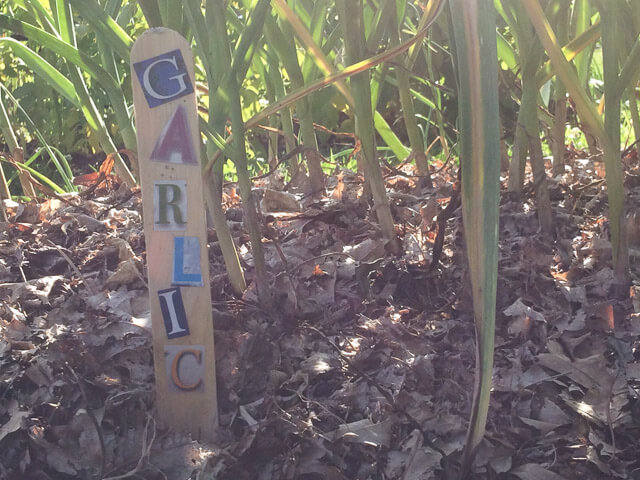
I have a particular obsession for plant markers. Not those little white plastic ones that come with your plant purchase, but homemade ones with personality, charm…and well…pizzazz. I’ve spent countless hours the past few years browsing garden websites and books for creative ways to label plants.
There are some really clever ideas out there.
From stamped vintage spoons (my favorite) to painted rocks, laminated seed packets on lids to wine corks on skewers, baked clay to stenciled bricks, you can make plant labels from almost any material. Wood, metal, plastic, cork, clay, cloth, rock, glass—the possibilities are endless.
But the plants all look the same!
My obsession with plant markers started more than 10 years ago when Amy and I were tending our first garden together in New Mexico. Amy was cooking dinner and sent me out to fetch some parsley. I came back to the kitchen with carrot tops.
Yeah, go ahead, laugh it up. Amy did.

Can you tell which is carrots and which is parsley?
In my defense, parsley belongs to the carrot family, and they do look a bit similar. In fact, many plants look like each other, especially when you are new to gardening.
So began my education in plant identification.
And my desire to label the plants.
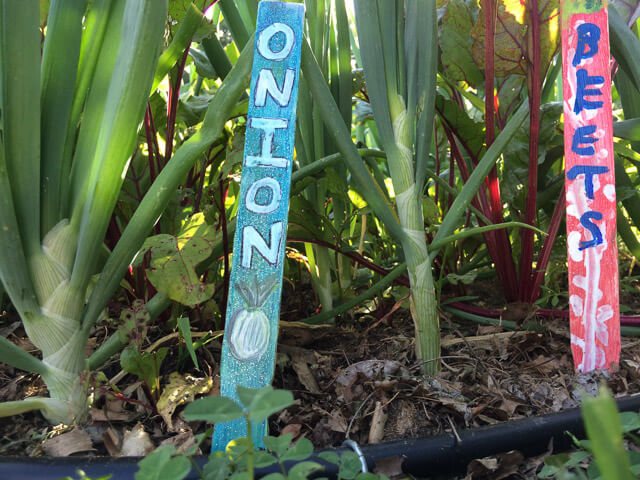
I have better ID skills now, but I am always learning. Most plants get easier to ID as they grow. I can spot the usuals: tomatoes, onions, garlic, sunflowers, beets, radishes, potatoes, corn, many flowers (and weeds) and, of course, carrots.
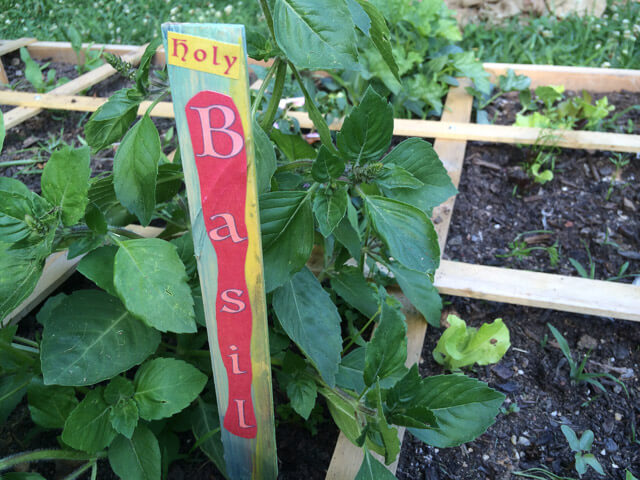
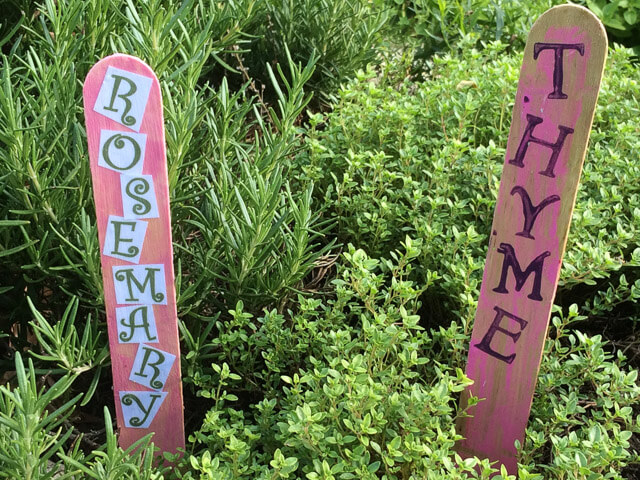
I still have trouble with many of Amy’s herbs.
Why plant markers?
There are two main goals for plant markers in our garden.
- To help me (and the boys) identify the plants
- To add personality to the garden
Both of these are important as our boys begin their gardening journey.
If you are growing food and ask others to help gather produce for dinner, if you are learning to name plants yourself, or if you just want to add a little whimsy to your garden, plant markers are essential.
Another goal for markers might be humiliation avoidance.
Perhaps they’ll help your husband avoid an embarrassing trip to the garden.
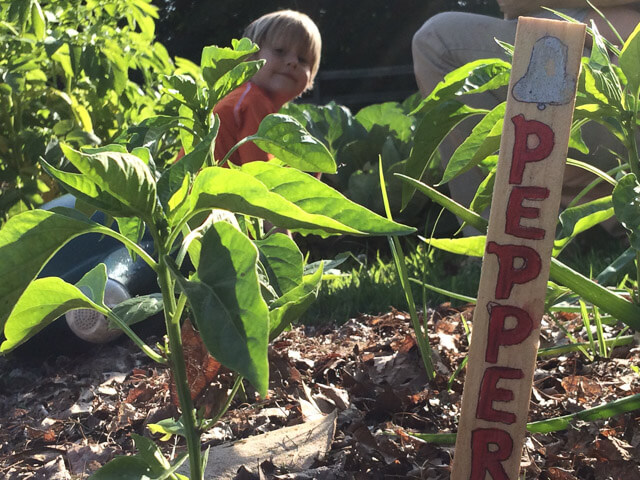
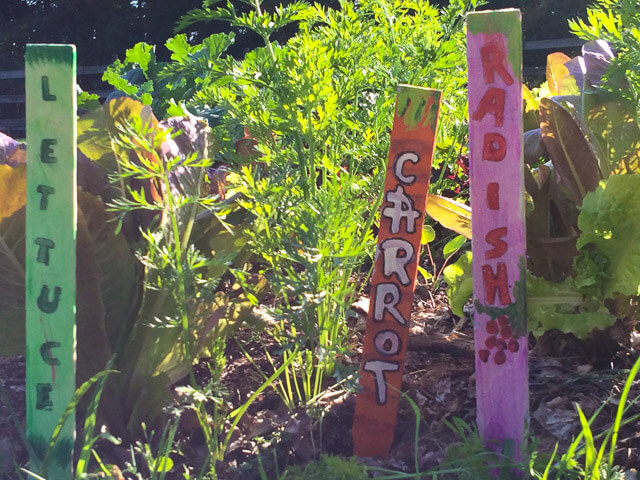
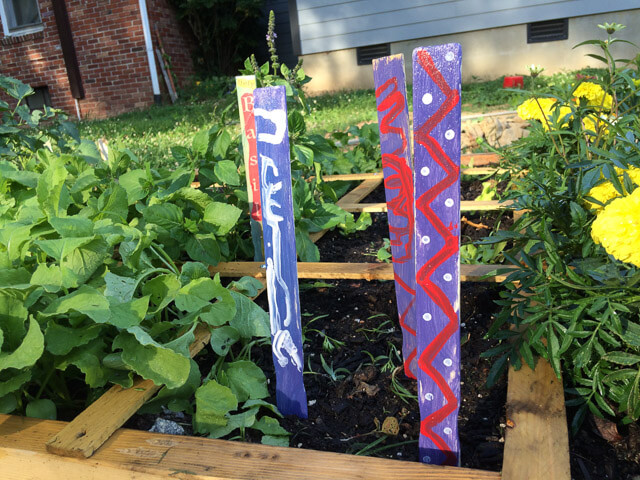
Your garden is your gallery.
A word of advice before diving into this project with kids…relax…have fun…and don’t expect perfection. These plant markers are not for display in the Metropolitan Museum of Art.
The goal of the project is:
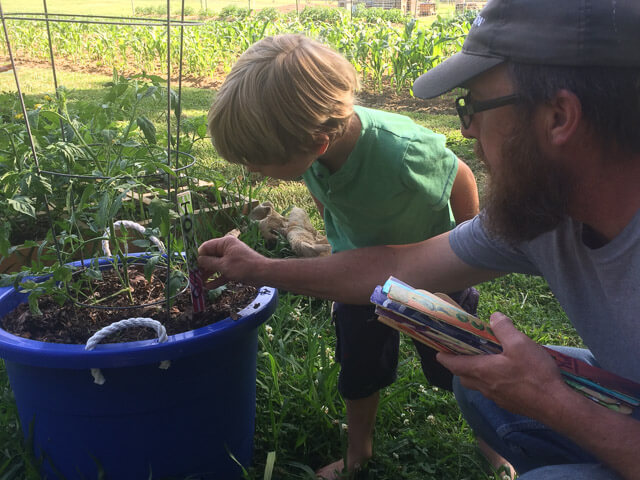
- to spend quality time with your kids
- to have fun
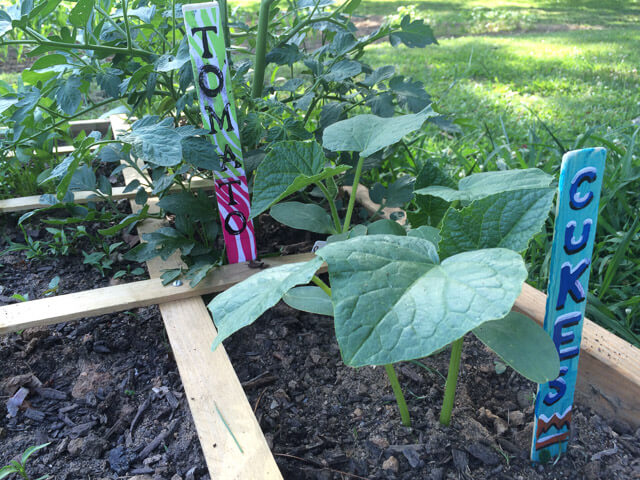
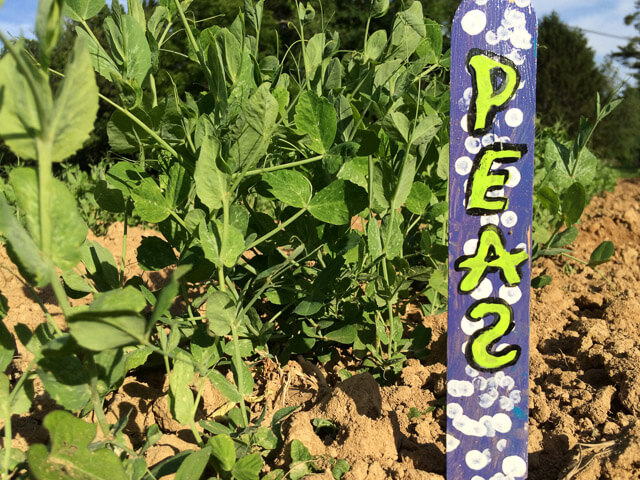
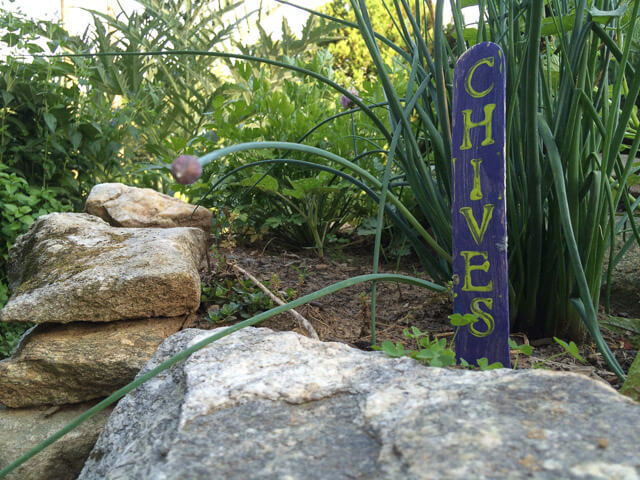
- to end up with plant markers that identify plants and add personality to your garden
So, don’t take it too seriously.
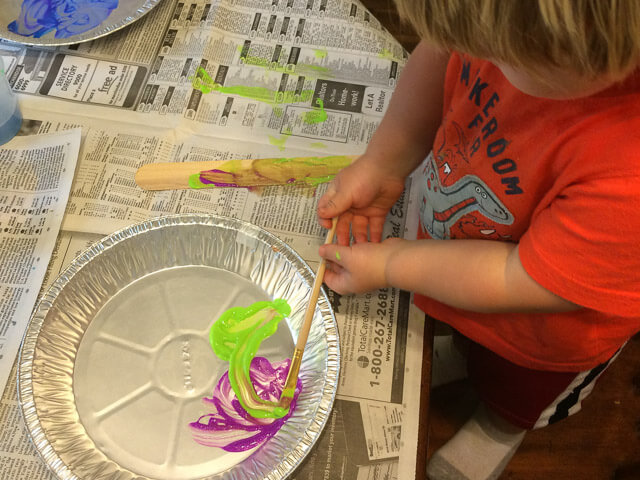
I fell victim to this. I got frustrated with our boys for straying from my plan for the markers. I felt annoyed as they made muddy messes with the paints and sticks.
But then I stepped back, took a deep breath, and set my focus on the boys and their visions for the markers (rather than my own).
I used it as a learning tool. For myself and the boys.
My 4 year old is learning letters, so we practiced letter writing. We talked about size, scale, upper case and lower case. We compared porous and non-porous materials. We also talked about color and contrast—why it was important to use light-colored paint on dark backgrounds and vice versa.
I think we were both enlightened from the conversation.
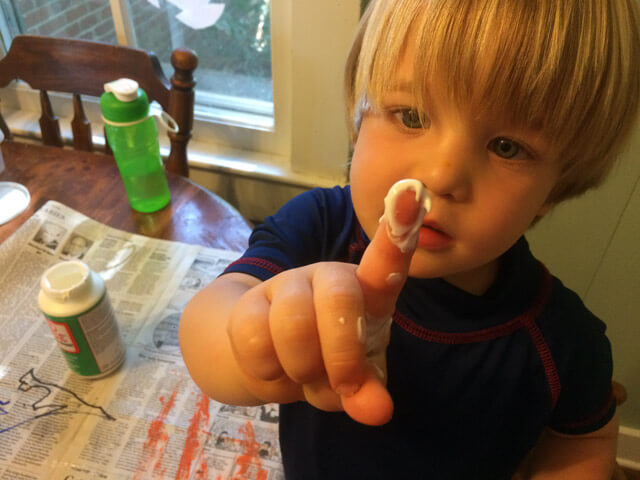
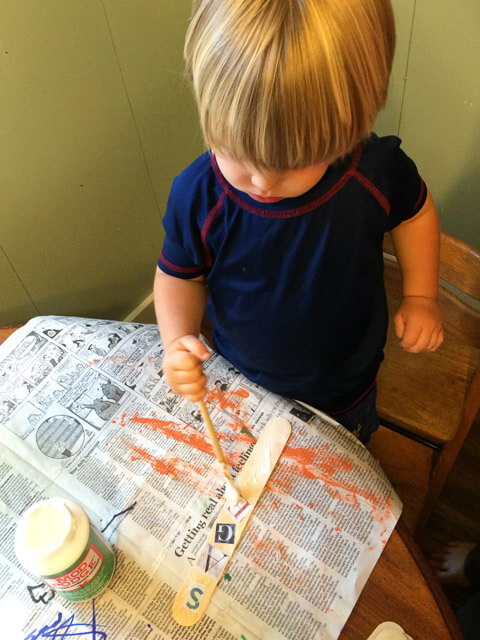
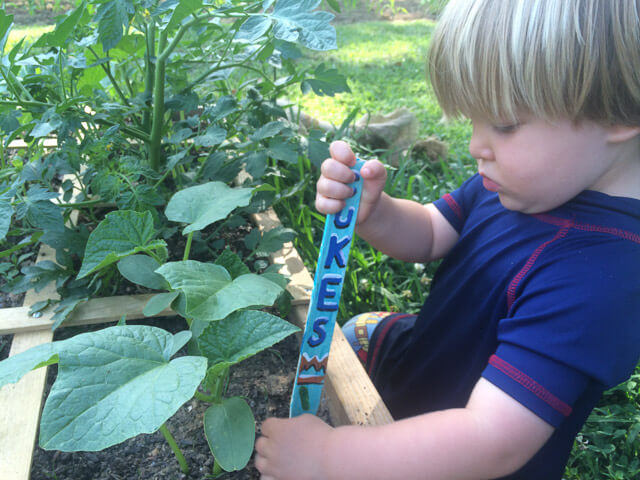
My 2 year old just wanted to mix the paints together. We talked about how mixing makes the color gray.
And that’s what makes these garden markers masterpieces.
Tutorial
Here are the steps and some tips for creating your own simple, fun, and cheap plant markers. The materials are safe for kids and gardens. It will only take a few hours (including dry time).
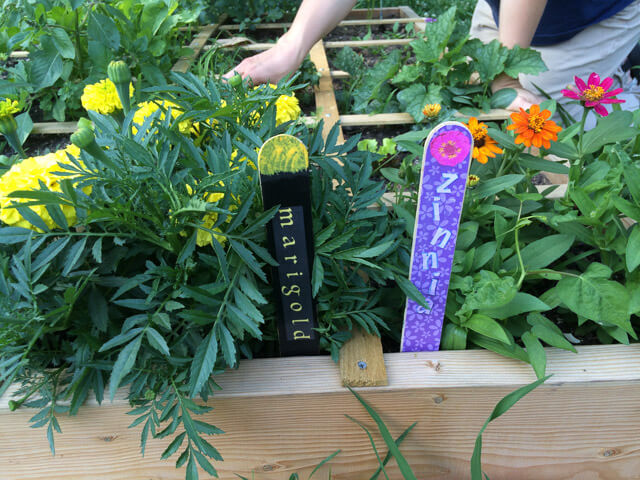
Within the steps, I show you 2 methods for creating the markers: (1) paint only, and (2) collage.
Choose a method, or give them both a try to see which you like best.
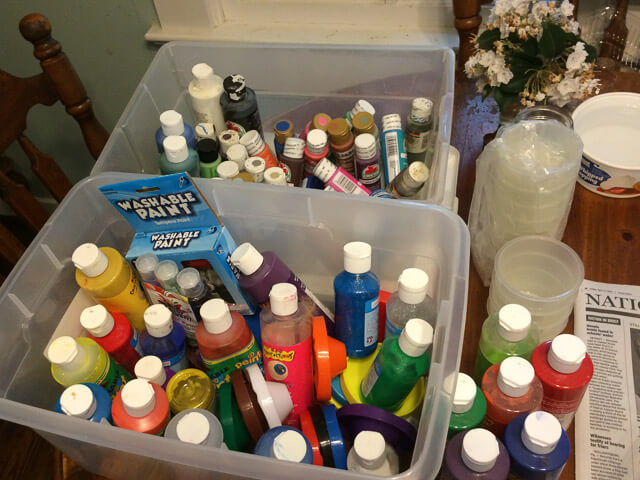
If you have a Nana with boxes full of kid-friendly paints, make a stop by her house first. 🙂
What you will need:
- Newspapers (or something to protect your work surface)
- Paint sticks and/or jumbo craft sticks
- Paint sticks are usually free at hardware and paint stores.
- We found a package of 45 jumbo craft sticks for around $4 at Walmart. Look for sticks that are at least 10 inches long.
- Acrylic* or tempera paint in various colors
- Palette (We used pie tins.)
- Small paint brushes
- Cup of water for brushes
- Cotton swabs
- Alphabet stamps (optional)
- Ruler
- Outdoor mod podge
- Clear acrylic spray, labeled for outdoor use** (optional)
- Paper towels or rags for cleanup
- For collage-style markers, you’ll also need…
- Magazines
- Colorful paper
- Seed packets or seed catalogs
- Scissors
*The Paint Rundown: We tried kid-friendly tempera paint, but it was runny and semi-transparent. We had better luck with acrylic paint because the color is more saturated. However, acrylic paints have a downside. Although water-based and generally considered safe, some acrylics contain ammonia, formaldehyde, and acrylonitrile plastic. Pigments may contain arsenic, cadmium, or lead. If you choose acrylic, use a craft grade (those cheap 2 oz bottles at craft stores) and ones labeled “kid friendly” or “non toxic”. They are usually water-based with non-toxic pigments. (Avoid paints labeled for use by professional artists.) You can read more about toxins in art supplies here.
**Clear acrylic spray contains toxic solvents. It should be used away from children and outdoors by an adult wearing a protective mask. Outdoor Mod Podge may remain tacky (even when dry) if used alone; the directions recommend a coat of clear acrylic to remove tack and add an extra layer of protection.
1. Get prepared.
Make a list of the plants you want to label.
You can do this on paper or mark the back of each stick with a pencil.
Decide if you’ll use paint, collage, or both.
Plan colors for backgrounds and lettering. This can also be marked on the back of the stick.
Don’t get hung up on it though. You can change your mind (or your kids will change it for you). It’s just good to have a rough plan.
For the collage method, an extra prep step is needed: cut letters from magazines for each plant you want to label. Choose letters that fit nicely on the sticks and that have contrasting colors to the background color you plan for each marker. Use paper clips or envelopes to keep up with the cut letters.
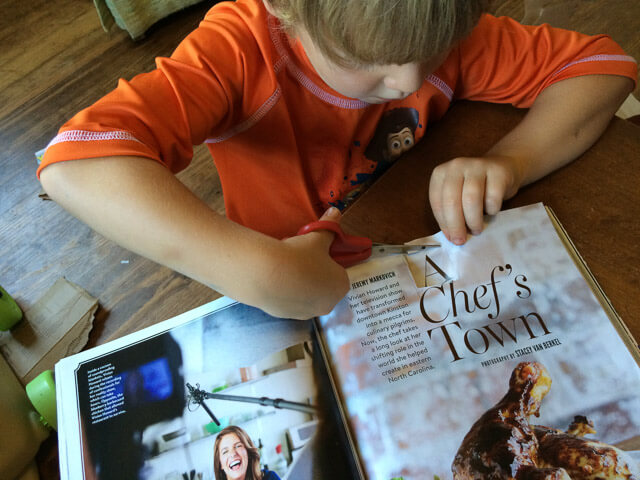
With kids, this step may take a while, so we did this the day before. My boys love to cut.
Cover your work surface and lay out supplies.
Make sure the kids have on paint clothes. Water-based paints usually come out of clothing with normal washing, but it is a good idea to wear clothes that you don’t mind staining, just in case.
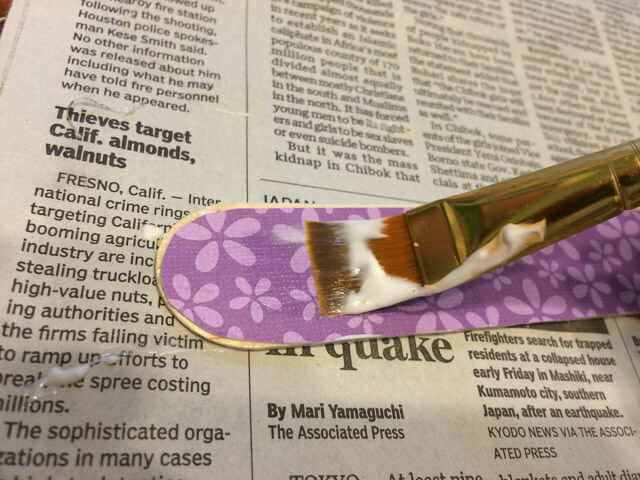
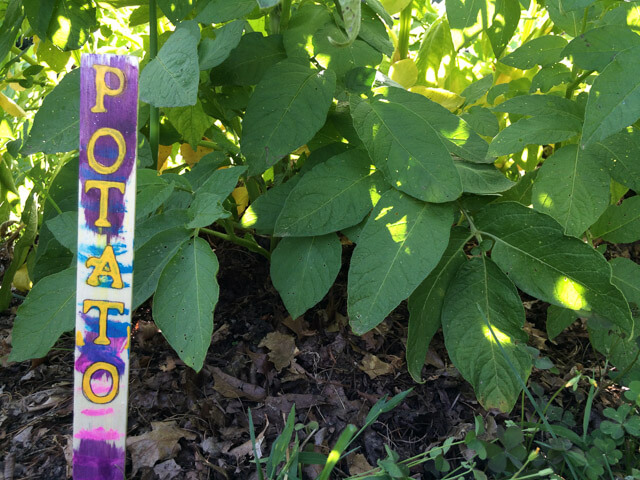
2. Apply a background color.
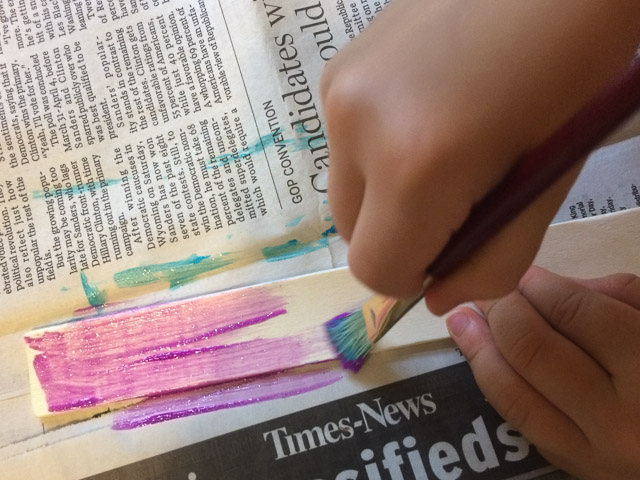
Painting the background color.
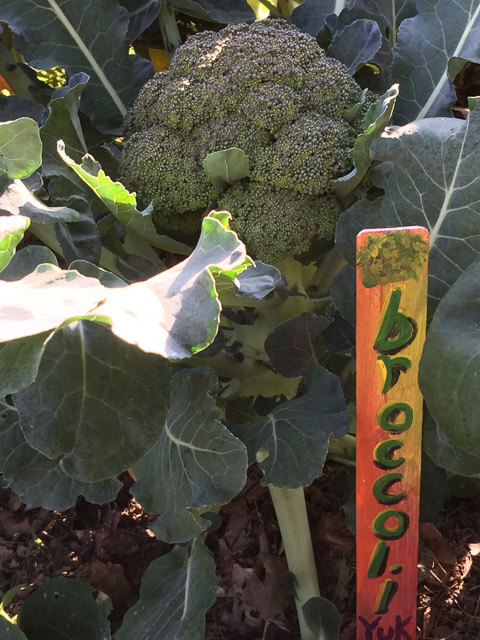
You can paint on a solid color or mix it up with multiple colors. Just keep in mind what color(s) you’ll use for the lettering. The lettering is most important. You want it to show up.
Or you can glue colored paper on the sticks with Mod Podge.
For this, cut the paper slightly smaller than the size of the stick and follow the Mod Podge directions.
Set sticks aside to dry for at least half an hour. (You can speed up dry time with a hair dryer on low or cool.)
If you like the natural color of the sticks, skip this step and move ahead to lettering.
3. Add letters.
First, make a mark 3 inches from the bottom to show how far the stick will go into the ground. You don’t want letters to go below this mark.
Then, sketch or layout the letters on the stick for fit. You want them as big as the space allows.
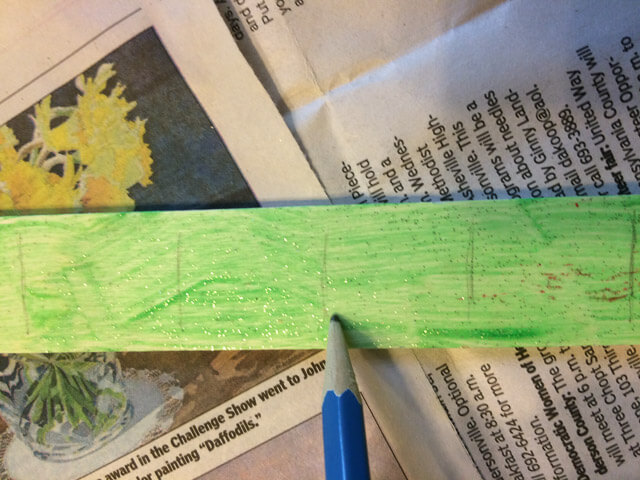
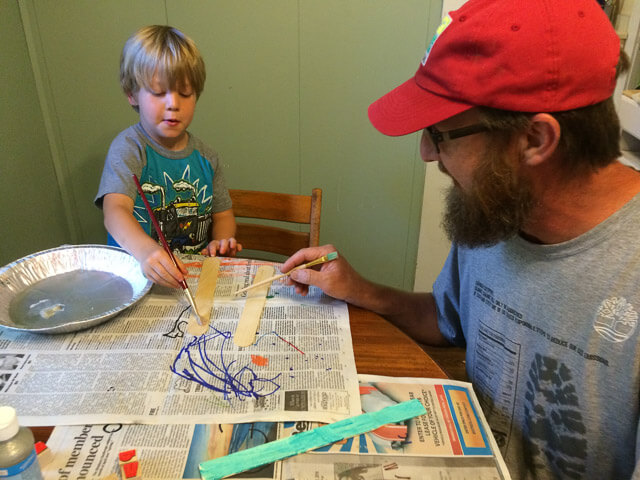
If you’ll paint the letters by hand, use a pencil. Since my 4 year old is learning letters, I drew light pencil line boxes where the letters would go, then he drew the letters in the boxes with a pencil.
After we were both satisfied, we painted over the penciled letters and erased the boxes.
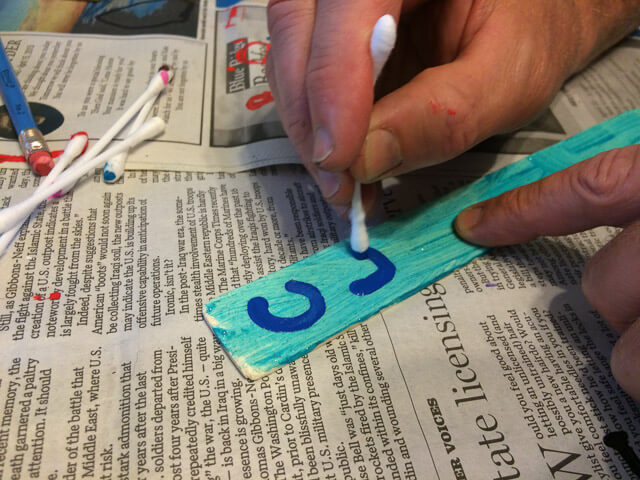
Cotton swabs work great as the lettering tool for paint.
Letter stamps (rubber or foam) are another option, especially if you want a consistent font. They are a little harder to control because the paint runs.

Try spreading a thin layer of paint in your palette. Lightly press the stamp into it and on the stick. Pencil-mark boxes work well as a guide for the stamps too.
If you’re doing a collage with cutouts, arrange your letters on a dry stick first. Set them to the side and spread a thin layer of Mod Podge onto the stick with a brush. (Re)arrange your letters on top of wet Mod Podge and work them in with the brush, making sure they are flat with no bubbles. Then, spread another thin coat of Mod Podge on top. You have a bit of adjustment time while Mod Podge is still wet.
You can also print letters from your computer to cut out if you don’t have magazines.
Set sticks aside to dry for at least a half hour.
Can I use a paint marker or permanent marker to letter?
Although permanent or paint markers are easy to use for lettering, they are not kid friendly. Paint markers contain xylol/xylene, which is harmful (or even fatal) if swallowed. Although Sharpies are AP certified “nontoxic,” they contain dyes and alcohols that make them unsuitable for child use.
If you decide to use markers, do it in a well-ventilated space with close supervision.
4. Refine, touch up, and seal.
Make any last minute designer additions, touch up lettering mishaps, and let dry.

When dry, apply 2-3 thin coats of Mod Podge to the front and back of each stick (one side at a time). Allow 15-20 minutes dry time between each coat.
Set sticks aside for a final drying of 48-72 hours before placing them outside.
5. Spray with clear acrylic sealer. (Optional)
Spray with Clear Acrylic Spray Sealer for added protection. All brands differ so follow directions on can. See note under materials list for more information about toxicity.
6. Install and enjoy!


Place your new plant markers in their proper spots. Push them carefully into the soil, but don’t hammer them in. (They aren’t stakes and will break.)
If your soil is compact or dry, water the soil and wait a few hours. Or make a hole for the marker with a butter knife or screwdriver.
Pause a moment to enjoy your new garden personality.
Then, take pictures to share with us!
Can you tell the difference between carrot tops and parsley?
In the comments below, tell us about your plant ID experiences. Do you use some plant markers already? Which plants do you want to identify in your garden? (Can they save your husband some embarrassment?)
Is there a type of plant marker you want to learn how to make in a future tutorial? Let us know!
And be sure to share this with someone who will find it useful and fun.
I love this tutorial Amy!!! We tried starts this year and my experience with plant markers was fine and dandy (5 yr old kindergartner did his job of labeling the markers) UNTIL my 2 year old decided to rearrange all the markers.
Lesson learned: Put the starts where toddlers and babies can not get to them!
We will be making markers for the fall planting and will share pics! I’ve also shared this with my Go Diaper Free audience.
Thx for a great FAMILY post!!
xx Andrea
You are welcome, Andrea! Thanks for the great feedback.
The baby/toddler plant marker rearranging game is a really good point. At the botanic garden where I used to work, they would set plant markers in little cups of concrete and then bury the concrete hunks when they placed it. Probably overkill at home. 😉 So, it’s starts out of reach and maybe an extra non-plant set for playing in the garden!