Thankful Leaves: How to Make A Gratitude Garland
I’m looking forward to celebrating Thanksgiving later this month. I love that we have a whole day dedicated to being thankful! At the same time, I’ve been thinking about how to make gratitude more of a daily practice. This simple project, Thankful Leaves, is how we’re bringing together thankfulness and the gorgeous fall colors for the month of November.
If you’d like to practice gratitude with us, here’s a short tutorial.
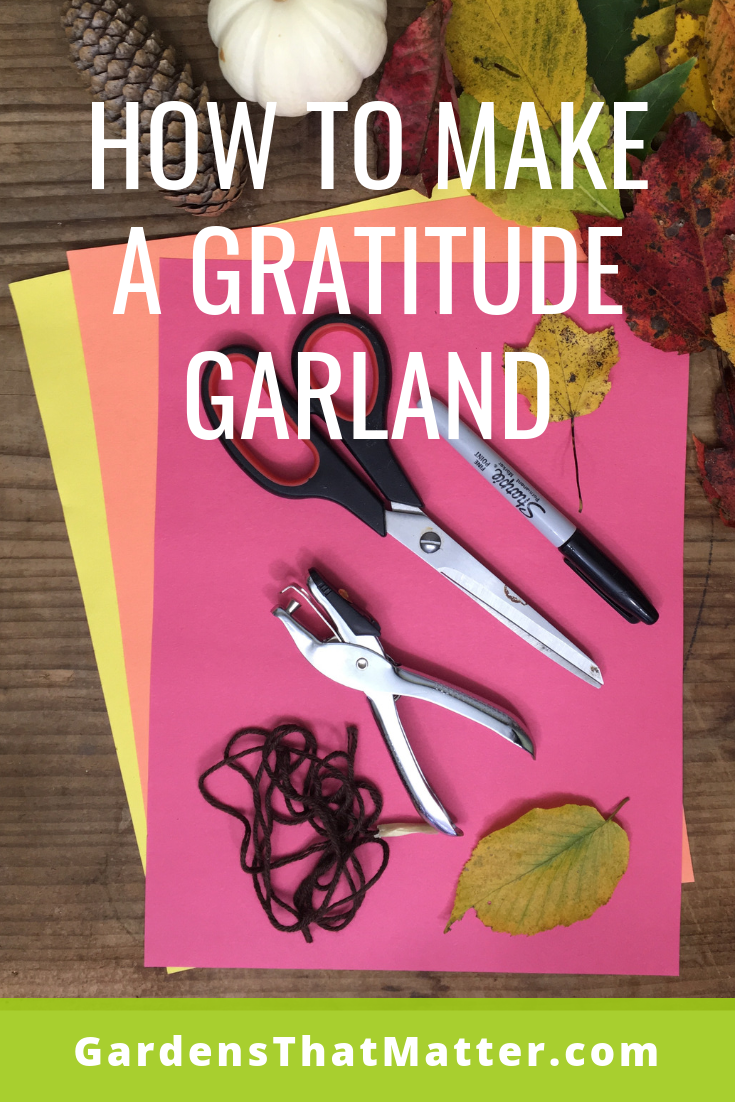
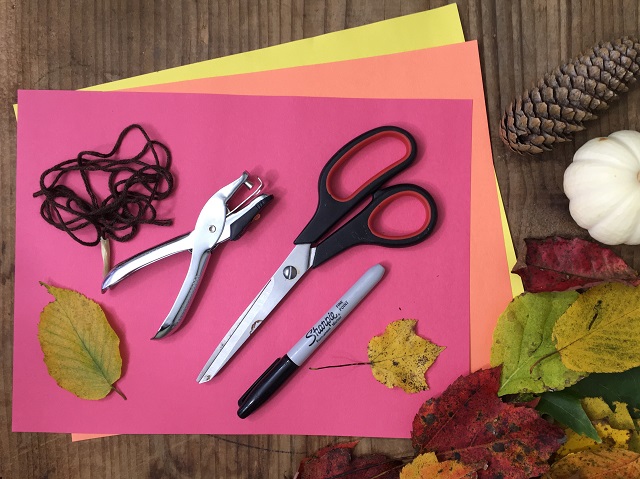
Here’s what you’ll need:
- Paper (Thick paper works well for hanging these in a garland. We’re using construction paper, but you can also recycle paper and add colors with your art supplies!)
- Leaf examples (Gather these from outside or print off some pictures!)
- Marker
- Scissors
- Hole punch (or use scissors again)
- Yarn or string – 2-3 feet per person
Here’s what you’ll do:
- Cut out leaves from paper. Use your leaf examples and your imagination to inspire the shapes and colors.
- Punch a hole in each one.
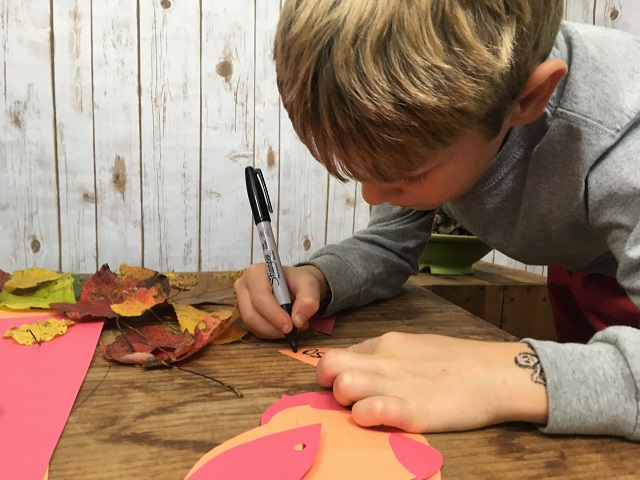
- Each day, write down one thing you’re grateful for on a leaf. (This is great practice for new readers/writers at our house! Since our middle son is just learning to write, he decided we should also add our names. He’s a pro at writing his name!)
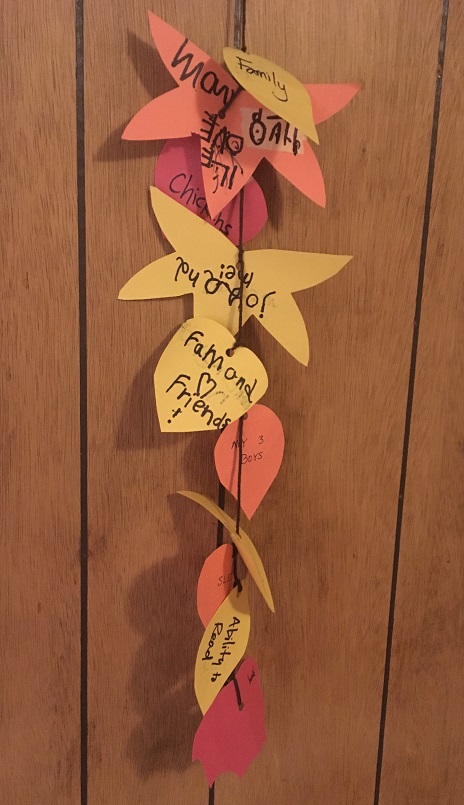
- Tie the leaf onto your garland. You can use a simple overhand knot after each leaf to space them out on the garland. Don’t pull too tight or you’ll cut through the paper!
- Hang your Thankful Leaves up to share at Thanksgiving. Set out a small basket of blanks with a marker and invite your Thanksgiving guests to add their own gratitudes.
A few extra tips:
- With young kids, I’m recommend making a batch for the week (or even the whole month) so you don’t have to pull out and clean up all the art supplies as often.
- I also think it could be a fun creative project to make the whole leaf each day. You could vary your materials and colors to make a gorgeous garland.
- If your paper is thin, use a small piece of tape or sticker as a “hole protector” before you punch holes.
- Cut multiple short strings (rather than one long garland) to make the daily additions easier. Depending on how closely you space them, you can fit about 30 leaves onto one yard of string. You can always tie them back together into longer strands later!
- It might be fun to use tiny clips or clothespins to attach the leaves to your garland…as long as you can keep them out of reach of curious boys who might like to clip and unclip the leaves endlessly…and then leave a trail of clips around for you to step on in the middle of the night. 😉
- Invite the other families joining you for Thanksgiving to make their own strands and have everyone bring them together on Thanksgiving Day to share!
And lest you have any doubts about your crafty skills, here’s what our first few days of Thankful Leaves look like on the garland. We’re 100% #processoverproduct in the Landers’s household. 😃 My mom said, “How….interesting…” when I sent her a picture!? I love it so far, and I’ll add a photo of the finished project at the end of the month!
What are your gratitude practices?
I’d love to hear from you in the comments below. What are your traditions around being thankful? Do you have favorite memories from your own childhood Thanksgivings? And if you make a gratitude garland, send me a picture!