How to Build a Backyard Teepee (for Free!)
Spend an afternoon creating a stick fort with your kids. This “super secret hideout” is super easy and fun.
My boys love to build. Especially my 4 year old. From awesome Lego spaceships to elaborate block castles, he loves to connect, stack, and balance objects. He is a mini-engineer.
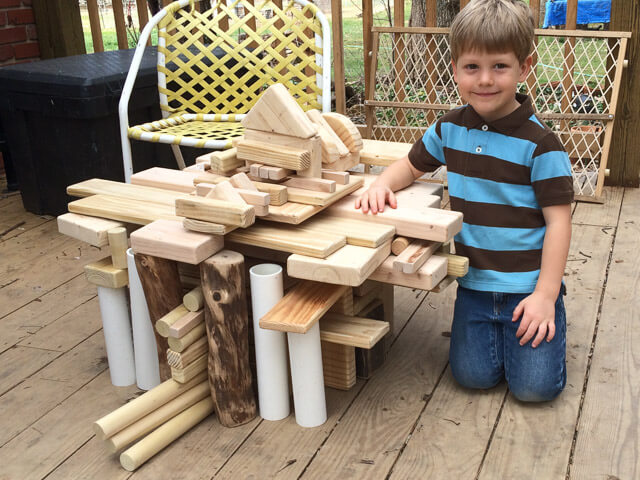
His 2-year-old brother also loves to build things, but finds equal enjoyment in tearing things apart, especially awesome Lego spaceships and elaborate block castles.
One thing the boys love to create together is forts, AKA “super secret hideouts.”
They are ingenious when it comes to makeshift hideouts with household objects and furniture.
They spread blankets over the space between the couch and the coffee table.
They pull the extra mattress from under their bed and lean it against the bed frame.
They pile a wall of pillows in the closet (to keep out the bad guys).
They turn a dryer box into a tiny house, complete with a table, pillows, blankets, flashlights, books, stuffed animals, and pictures taped inside. (They begged me to let them sleep in there. Although impressed, I had to say no.)
Their imaginations and creativity amaze me.
Chips off the old block?
I like to think they get their creativity and building skills from me. I’ve been designing and building scenery for theatre, television, and haunted houses for more than twenty years.
I love to build, and the boys love to build with me.
Knowing that I had the lead on this week’s tutorial, I decided to build something with the boys—something cool and rugged and structural.
Building more than just a project.
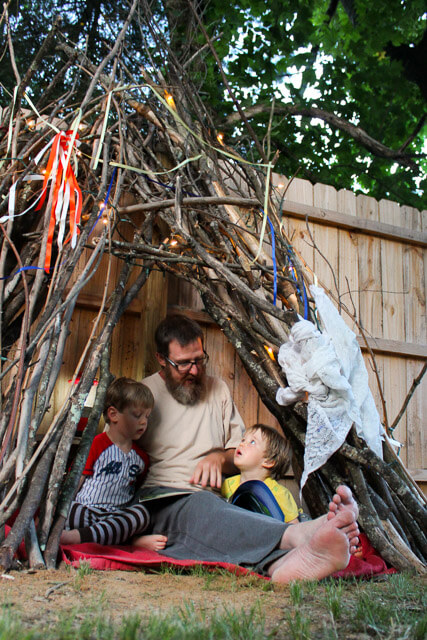
Since Father’s Day is coming up, I wanted to build something special that would also help me build an even stronger bond with my young pals.
Father’s Day makes me contemplate (even more) my relationship with the boys and my roles as a dad— teacher, mentor, role model, authority, and friend.
I think about the values I try to model—honesty, integrity, excellence, character, compassion, and conviction—knowing how much they’ll absorb through everyday influence.
I think about the balance between firm and gentle, serious and silly, courage and caution, confidence and humility, work and play—and I want to help them find balance, too.
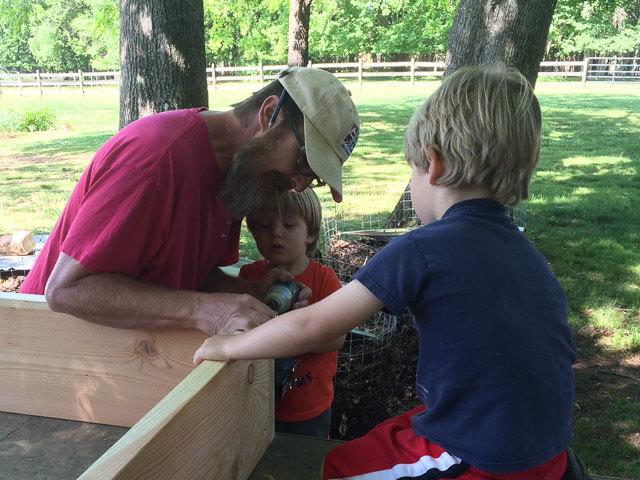
Afternoon projects like this one give me a chance to share real-life lessons with my kids through the activity and the teachable moments that occur along the way.
But enough about fatherhood.
Back to building something cool, rugged, and structural.
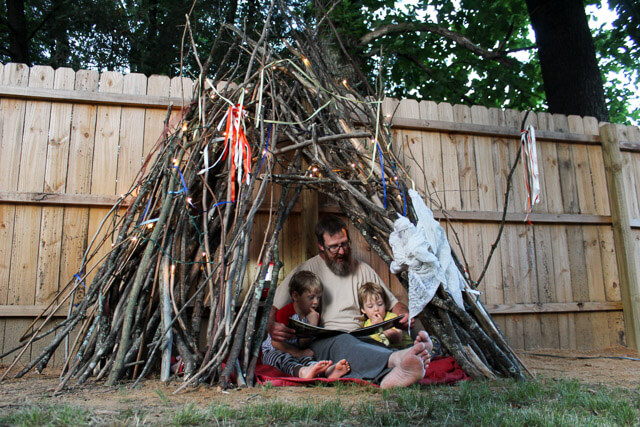
A teepee in the backyard…excuse me…a “super secret hideout” made of sticks would be the perfect thing for the whole family to build together.
Why a Stick Teepee?
I decided to make a teepee using sticks for a few reasons:
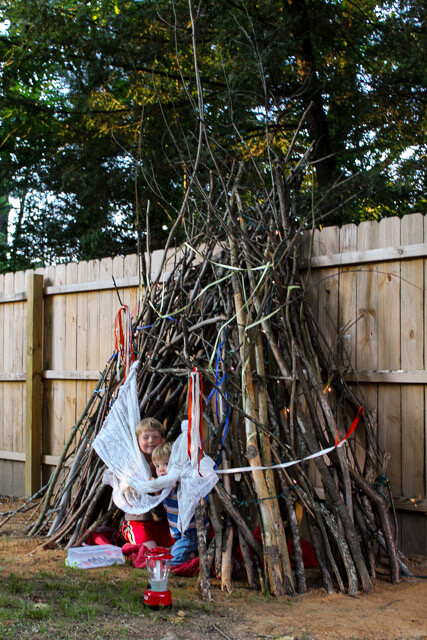
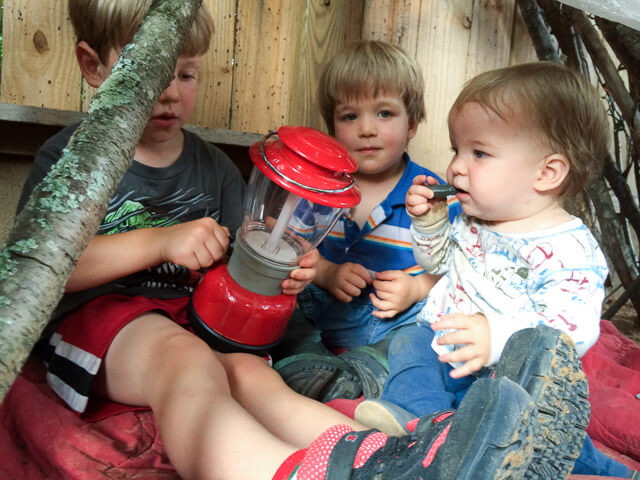
Children love small, cozy spaces.
The world can be a big, overwhelming place at times. A teepee is in their scale. It’s a safe fort where they can play on their own terms, at least for a little while.
We get to spend quality time together while building the teepee.
With work and school, errands and appointments, church and social events, sometimes it seems like we have so little real quality time together. The boys (and parents) relish the time we spend on no-pressure projects when there’s no rush to finish and no place we have to be.
The boys get to build on their terms.
The kids are involved in much of what we do around the farm, but that work must be done on my terms. Building the teepee, they get creative freedom as they make decisions and direct most of the process.
Stick teepees are practically free!
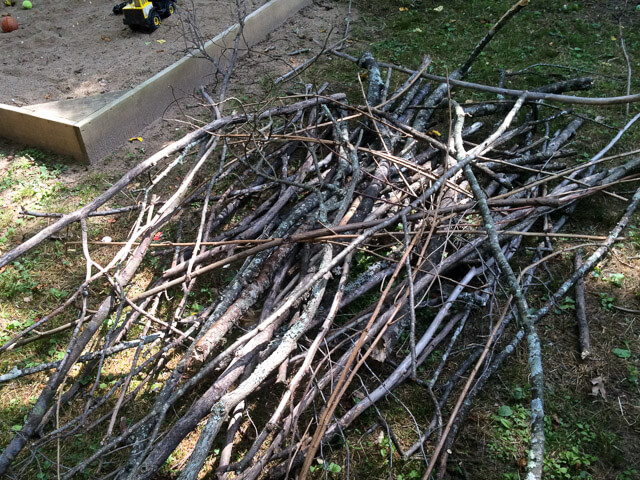
We found branches in brush piles near our house. You could collect sticks during walks or a special field trip to a friend’s forest. You could even ask a tree trimming service about collecting sticks from a job.
The flexible design leads to open-ended exploration.
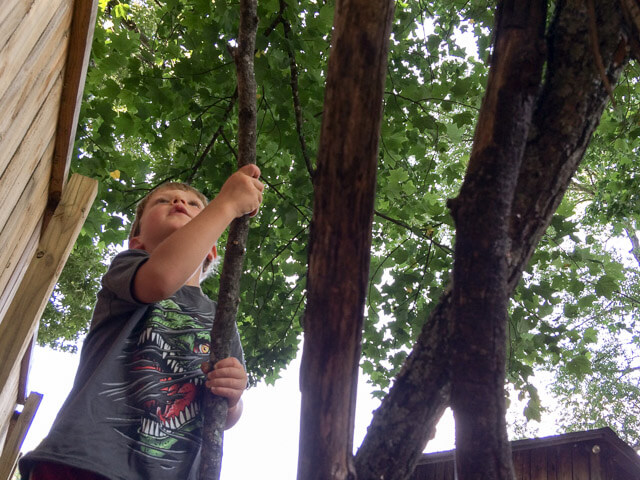
Our 4 year old took pride in finding the “right” kind and size of branches and figuring out how to fit them together. His younger brother spent time testing how long a stick he needed to reach the tree branches above his head, then turned his focus to furnishing the hideout with sand and little animals from the sandbox.
Creating a big structure offers lessons in careful, conscientious work.
The physical labor of dragging sticks to the yard, the care in not destroying habitat of wildlife who live in the brush piles, the joy of completing tasks, the feeling of satisfaction in a job well done.
A stick teepee is a beginning.
Over time, we can add more sticks, rearrange branches and change the decorations. Now that they understand the basics, the kids can build new stick structures on their own, just as they build new block structures inside. (For inspiration, check out these stick sculptures by artist Patrick Dougherty!)
Backyard structures benefit parents, too.
The boys can play in the teepee while we do garden and yard work nearby. Gardening with kids sometimes really means gardening near kids. We can get things done while they play in a safe space.
More than anything, building a teepee is fun!
Tutorial
Here’s how you can build a stick teepee (AKA super secret hideout) with your kids.
We suggest starting with a lean-to style teepee using a fence, wall or tree as support. Here’s why:
- The structure or tree anchors the teepee and adds stability.
- You need fewer sticks to make a lean-to than a full circle teepee.
- A flat fence or wall gives you a place to attach things, like a shelf or chalkboard.
- The back wall can be leaned against without damage.
- In our yard, building off the fence helped the teepee fit into our space. It’s convenient without being in the way.
We used fallen branches, which are plentiful in the woods around our house. If you don’t live in the woods, find a friend with a forest or talk to a local tree service.
What you will need:
- Sticks! You need 80–100 sticks of varying sizes to create a 4′ x 8′ semi-circle. At least two thirds of the sticks should be 6–8 feet long. Shorter sticks can be used as fillers and horizontals.
- String to tie the first few sticks to the anchor
- Scissors
- Clippers or small saw (optional for trimming sticks)
- Accessories (optional)
- Ribbons, yarn, fabric strips, beads, flags, leaves, flowers
- Lights (solar-powered tea or Christmas lights would be extra cool.)
- Furnishings (optional) – Some of these could be temporary and go inside after play!
- A small rug
- Blanket and pillows
- Basket with toys and books (These go inside after play!)
- Shelves
- Chalkboard and chalk
- Battery-powered lantern, flashlights and radio
1. Choose a location.
Decide if you want your teepee against a fence, tree, wall, or in the open.
Observe your surroundings and choose a location that is…
- fairly level (We added a layer of soil to level our spot.)
- free of potentially harmful elements, like big tree roots that are a tripping hazard
- convenient for you and your kids
- away from high traffic areas
- away from ant nests and other pests (If food goes to the teepee, the ants will inevitably visit, but aim for casual ant visits, not regular traffic.)
- cool and comfortable for your kids (For example, no one will be comfortable in a blazing hot teepee with its opening toward the summer sun!)
2. Gather sticks and supplies.

Gather 80-100 branches and pile them near your future teepee site.
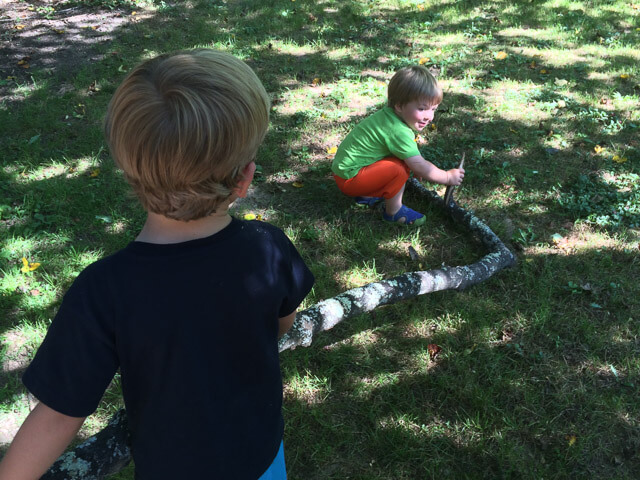
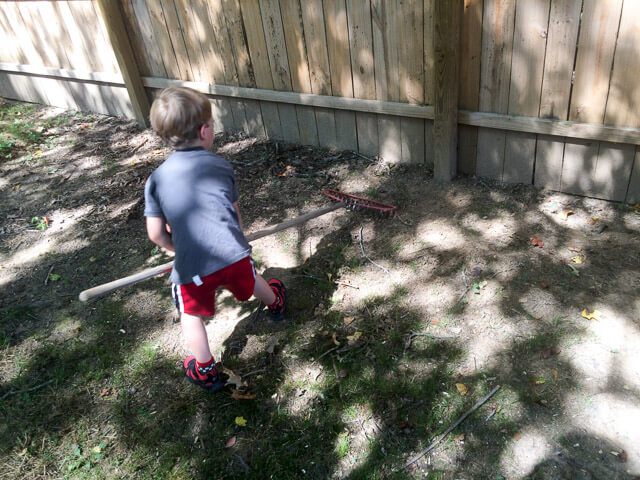
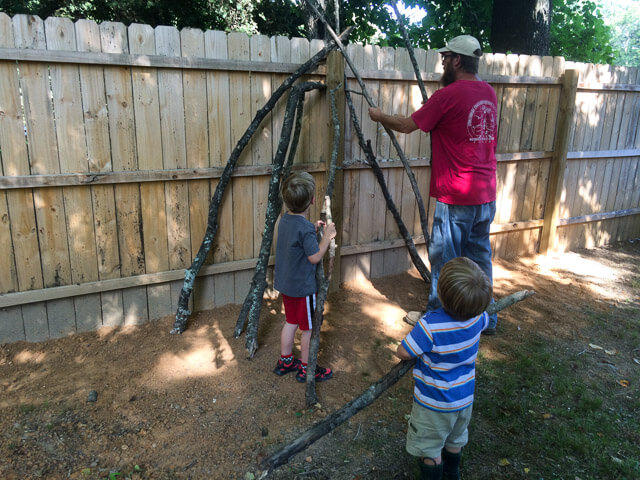
“Team Bro” at work carrying a big one!
We gathered sticks the day before building and cleaned them up a bit first, trimming off extra limbs and sharp points. We used 88 (but I wanted a few more).
Gather string, scissors, and any accessories and furnishings you have chosen.
3. Prepare your site.
Remove weeds, rocks and other undesirable debris.
Level your area, if necessary. As we mentioned, we added fill dirt to level our area, and then ran a rake through to make it smooth.
Check your fence (or other support). Repair any damage and remove any sharp fragments or nails sticking out.
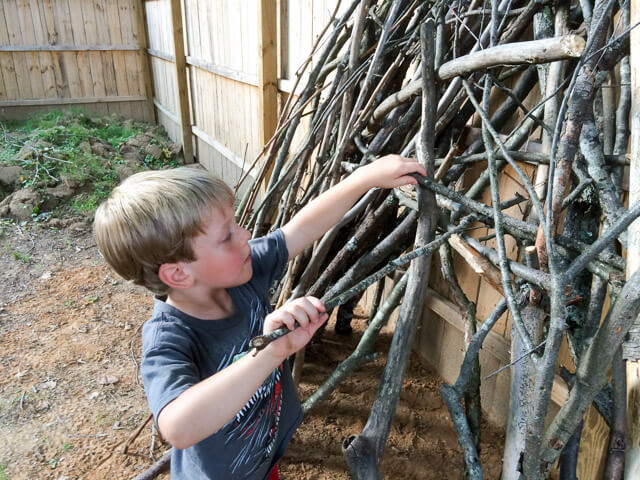
4. Build your structure.
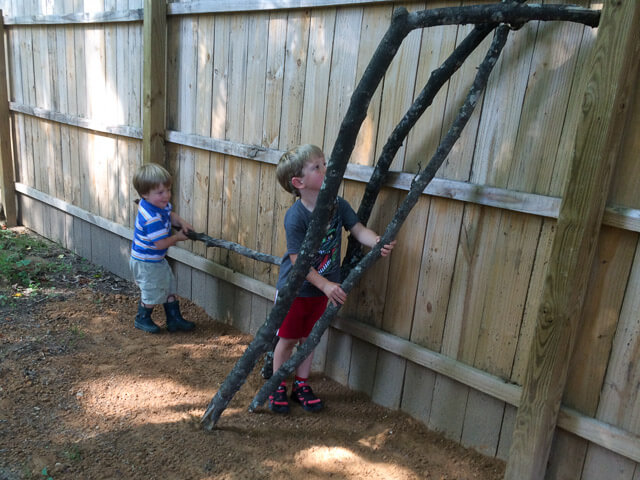
Begin by choosing the six thickest, sturdiest sticks.
Lean them together against the fence with their bottoms creating a semi-circle perimeter on the ground. Let the tops overlap and extend above the top of the fence. Remember to leave a space for your opening.
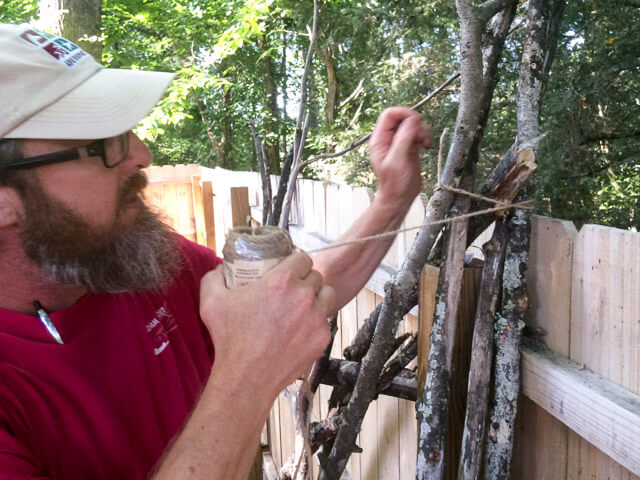
Tie these six sticks together and to the fence with your string. This is your infrastructure.
(If you’re using a building for support, you could screw one or two of the sticks to the wall. If you’re using a tree, you could tie string around the entire tree. Just be sure to use material that can stretch as the tree grows or you risk forgetting and “strangling” your tree in a few years.)
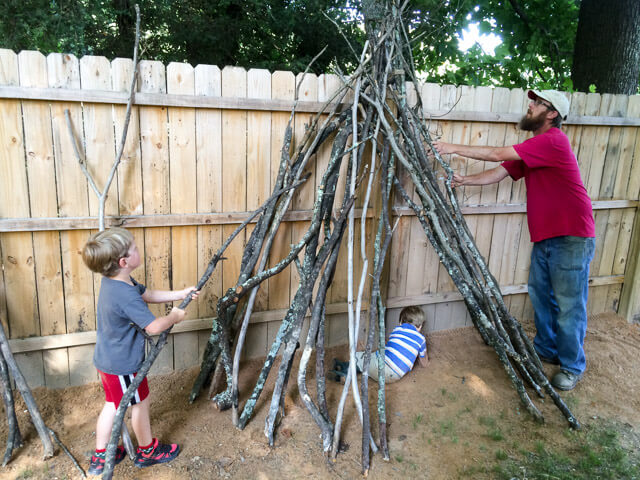
Lean additional sticks against your main supports. Start with the bigger sticks and work your way down to the smaller ones.
Short sticks can be weaved through horizontally.
Remember to leave 3 or 4 feet clear for the opening.
When all the sticks have been used, make any necessary adjustments, check for safety, then move on to next step.
Step 5: Decorate
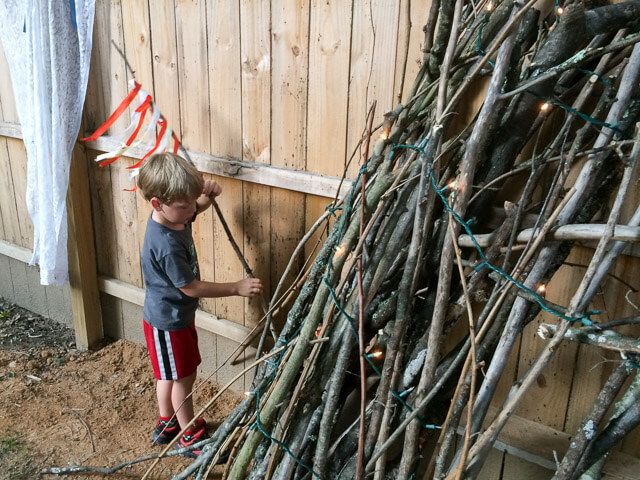
Hang or weave fabrics, ribbons, lights, flowers, and other accessories to add color and personality to your teepee.
The possibilities are endless. Add a shelf. Hang a small chalkboard. Cover the floor with rugs or carpet squares. Stake a flag. Hang a birdfeeder. Add some cushions. Put up laminated pictures.
That’s it!
Now that you have created a “Super Secret Hideout” stick teepee, the only thing left to do is . . .
Enjoy!
Your Turn…
Now, we’d love to hear from you.
What kinds of “super secret hideouts” do your kids like to make?
Do you have fond memories of teepees, forts, or other hideaways from your own childhood?
Tell us in the comments below.
This is great you guys!! We will definitely do this at the new farmhouse. I long for the day you guys make an *entire* book of activities like this to do with children. You’re on to something big!